Bearing surface cracks
21 August 2019


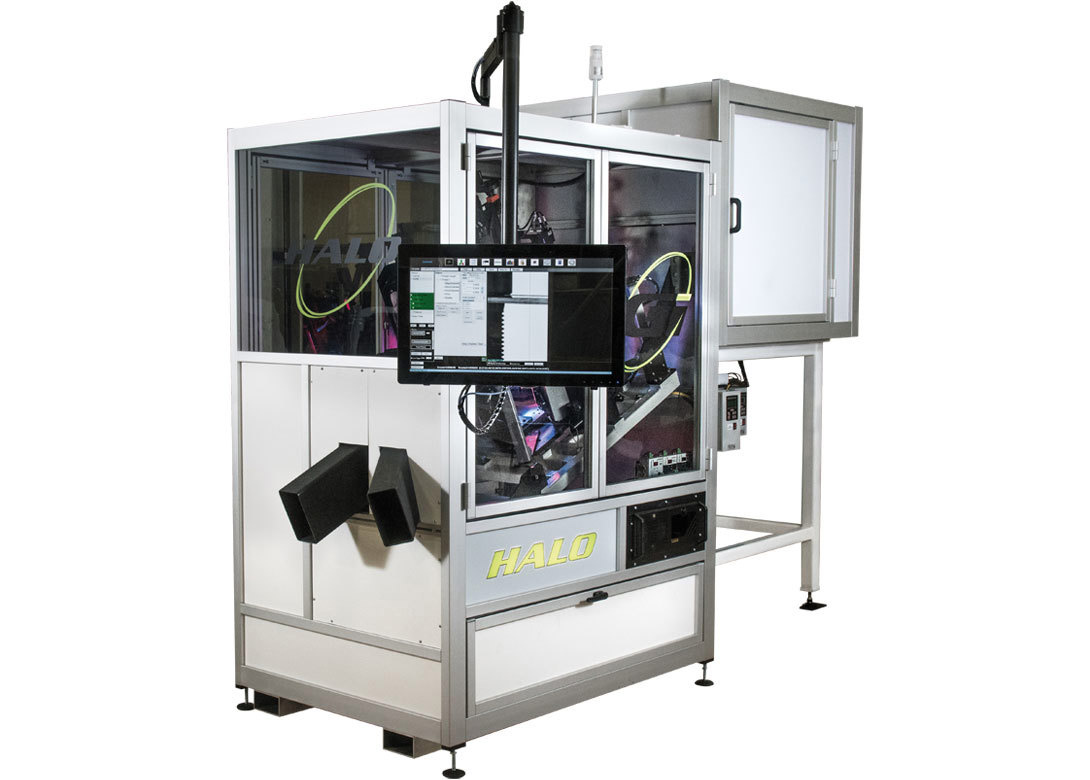
US-based General Inspection LLC has installed another one of its HALO inspection systems, this time for a bolt maker in Spain.
The HALO system that has been installed is equipped with a total of eight cameras providing 360° dimensional inspection, 360° visual defect detection, crack detection, recess inspection and recently developed bottom cameras for bearing surface analysis.
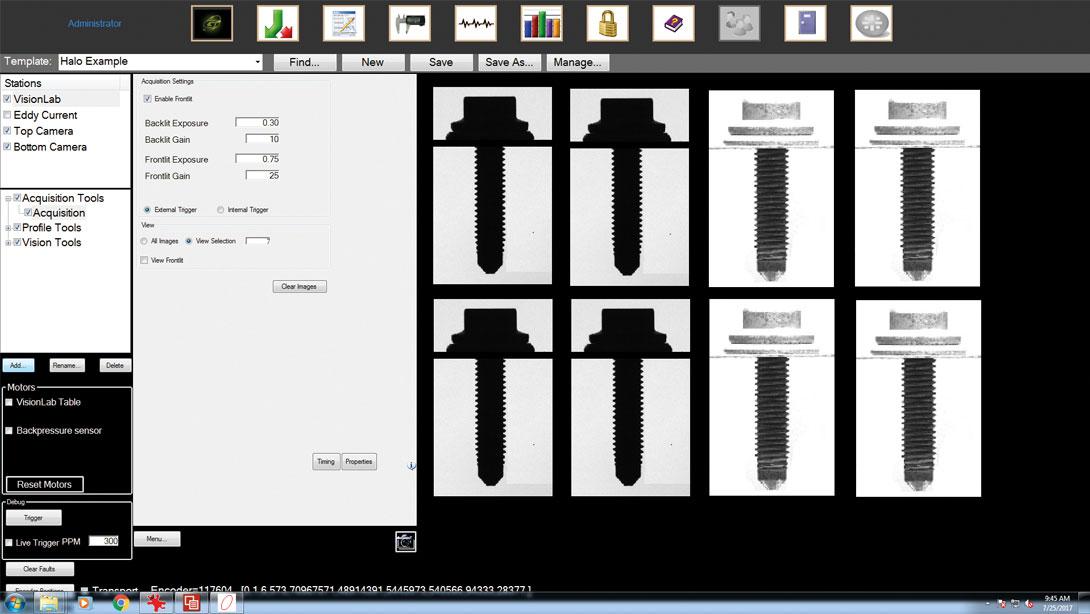
General Inspection (Gi) points out that the standard HALO utilises four cameras, which produce eight images through a patented light sequencing process.
The HALO measures all profile features including threads, lengths, diameters, tapers, angles, straightness, perpendicularity and concentricity with back lighting. Simultaneously, the HALO can detect surface defects such as dents, scratches, knurl damage, thread nicks and patch quality/presence with front lighting positioned from the top and bottom.
Additionally, two cameras positioned from the top are used to detect cracks and recess defects. A speciality lens, plus Gi’s software algorithms, combine to deliver optimum crack detection capability at unmatched inspection rates. A second speciality lens is used to view the inner walls of recesses to detect small chipped punch defects, plating fill and dimensional measurements of recess features.
Finally, two cameras mounted from the bottom provide bearing surface inspection. Defects such as cracks, burrs, dents and other damages are detected using Gi’s sophisticated algorithms, advanced lighting techniques and a special ‘unobstructed view’ part handling technique.
“After searching the world for an inspection system that provides complete part coverage the Spanish bolt maker selected us,” commented General Inspection. “Defect detection was key to the purchase decision, but inspection rates at a minimum of 285 parts per minute and a less than 10 minute part changeover time were also important factors.”


Biog
Will joined Fastener + Fixing Magazine in 2007 and over the last 15 years has experienced every facet of the fastener sector - interviewing key figures within the industry and visiting leading companies and exhibitions around the globe.
Will manages the content strategy across all platforms and is the guardian for the high editorial standards that the Magazine is renowned.


