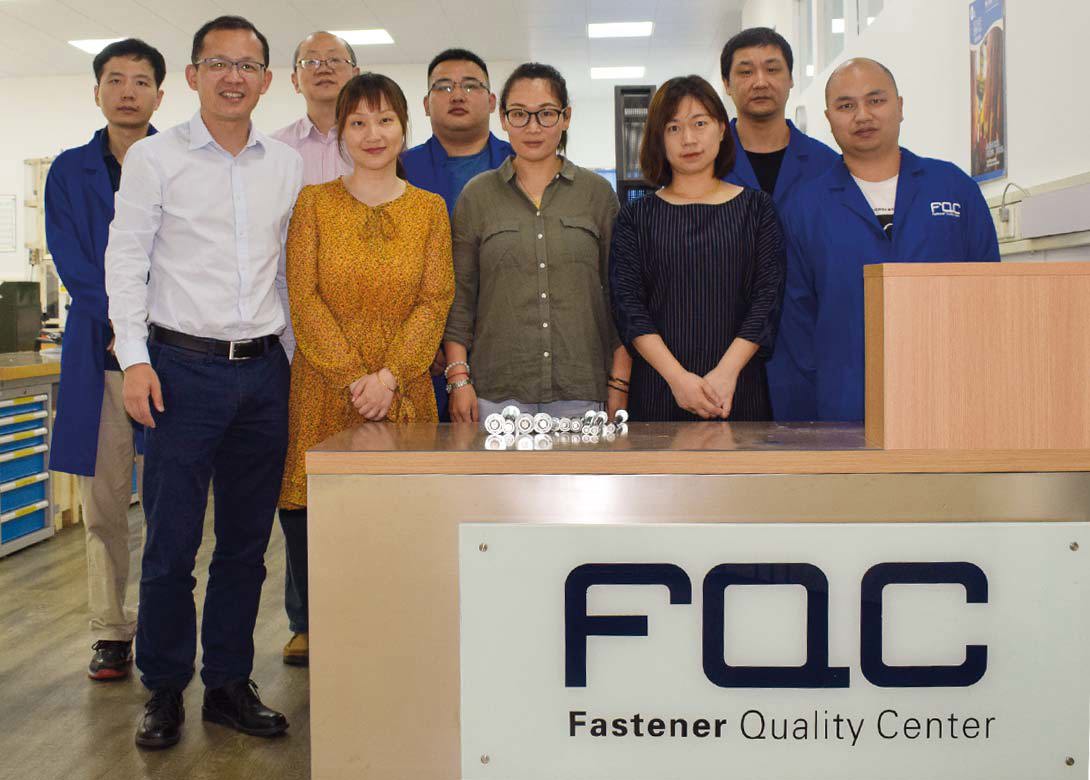
Established in 2007, the Fastener Quality Center – Shanghai is a testing facility positioned in the heart of the Asian manufacturing industry, providing high-quality third party quality inspection to customers.
Founded by two European fasteners distributors, the original concept was to detect problems with fasteners before they were shipped to Europe. “It is very costly when you find problems with fasteners from Asia once they have arrived in Europe,” mentions Eric Ni, general manger at FQC Shanghai. “You have to send the products back and there is the time delay of getting new products shipped over. Plus, there is the damage to your brand of not being able to supply products to meet customers’ needs. The FQC Shanghai was set-up by the founders to ensure total confidence in their suppliers from Asia.”
After setting up the facility, it became clear that other European fastener companies were also interested in utilising the FQC facilities to inspect the production of their own manufacturers. “To enable us to carry out tests for businesses as a third party, we installed the necessary procedures and work practises to fully comply with ISO 17025:2005,” mentions Eric. “Since our initial accreditation by CNAS (China National Accreditation Service for Conformity Assessment) we have consistently been reaudited over the years to guarantee continuous compliance – with the scope of the accreditation being enlarged year after year. New testing methodologies and new equipment has also been added to the portfolio of the FQC’s services.”
In 2009 anti-dumping regulations on most standard fastener products originating from China were introduced – reducing the number of European customers cooperating with the FQC for quality inspections. This led to the FQC establishing itself within the Chinese market – by offering its reliable services to Chinese manufacturers, distributors and end users of industrial fasteners – creating a database of active customers of over 300 different companies.
“After the introduction of the anti-dumping duties a lot of the Chinese manufacturers decided to focus on special fasteners and therefore the quality of the parts became even more important,” mentions Eric. “This resulted in us growing our customer base initially with Chinese companies, as well as with branches of large European brands based in China.”
Eric adds: “Since the cancellation of the anti-dumping tariffs in 2016 we have once again seen an increase in interest from European distributors buying from Asia – who need a quick turnaround on sample testing.”
European companies can get their suppliers to send samples directly to FQC Shanghai for testing. There is also the option for the FQC to pick up the samples from the factory if required. “Getting manufacturers to send the samples straight to us helps to speed up the process and means we can carry out the necessary tests and provide the results even quicker,” explains Eric.
The FQC can also carry out supplier audits for customers as and when required. “We can visit customers’ external suppliers and carry out on-site audits and pre-shipment inspections,” points out Eric. “We work with the customer to agree a set of requirements and then we ensure the supplier meets them.”

Investing in technology
Over the years the FQC has continuously added new machinery to increase its capabilities. “We always look at customers’ requests and let them lead us as to what we need to do regarding new machinery, services, etc. We then conduct market research before making any new investments,” points out Tom Hou, operation director at FQC Shanghai. “For instance, a couple of years ago we added an impact machine and a friction machine, as we could see that we were receiving more and more requests from customers.”
Tom Hou continues: “We are always working with the customers so that we can better understand their needs. By keeping in close contact, we are aware of the tests they require and what their needs might be for the future.”
Another important aspect of the business is being aware of changes in the market and regulations that could impact testing requirements. “We have definitely seen an increase in the requests for chemical analysis tests over recent years, especially for stainless steel – as there were problems with the quality within the market,” mentions Tom Hou. “As a business we need to be able to react to these requests and provide the tests customers need.”
Eric Ni adds: “We set high standards for our entire inspection activity. This includes an ongoing training programme for our staff; on-time maintenance and calibration of our inspection equipment; and the optimisation of our internal processes – aiming to always meet customer set completion deadlines.”

In-depth capabilities
At its laboratory located in Pudong, the FQC carries out a wide range of mechanical/technological tests such as tensile/wedge/proof load, hardness and micro-hardness, decarburisation, chemical analysis, coating thickness, salt spray, impact and roughness tests, as well as all relevant dimensional and functional tests.
“We can handle all of the major tests ourselves and our aim is to be a ‘one stop’ service for all fastener testing,” states Tom Hou. “Our team has the knowledge of standards and procedures to guarantee that all tests are carried out accurately, which offers quality assurance to customers.”
Eric Ni concludes: “In the modern global fastener trade the role of quality assurance is gaining importance every year and the Fastener Quality Center – Shanghai has successfully found its position in this market and will continue to offer a first class inspection service.”

FQC Shanghai testing capability:
Tensile test (200kN/1,000kN machines): Tensile testing for full size bolts or machined test pieces, as well as under wedge loading of finished bolts and screws. The tensile test also includes proof load test for nuts; defining lower yield strength or stress at 0.2% non proportional elongation; as well as testing elongation or reduction of area after fracture and bending tests.
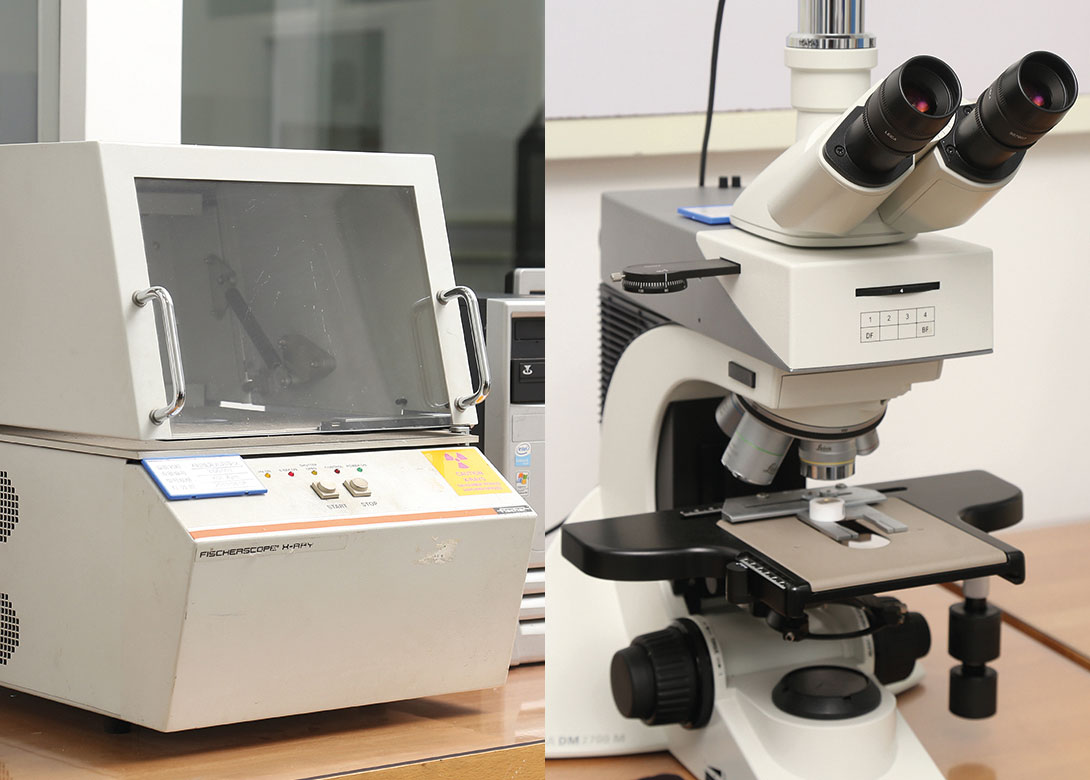
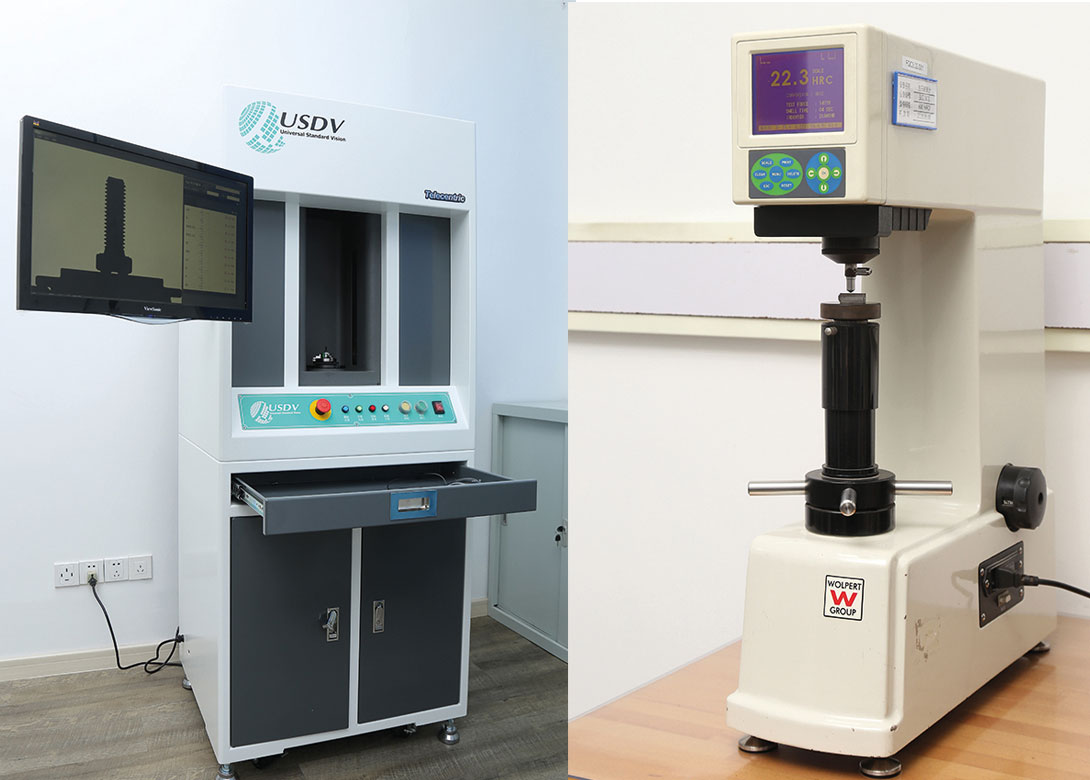
Hardness test Rockwell (HRB, HRC) and Vickers (HV0.1 – HV30): This test can be used for determining surface hardness, core hardness, case hardness depth (CHD), de/carburisation for bolts, as well as hardness profile test.
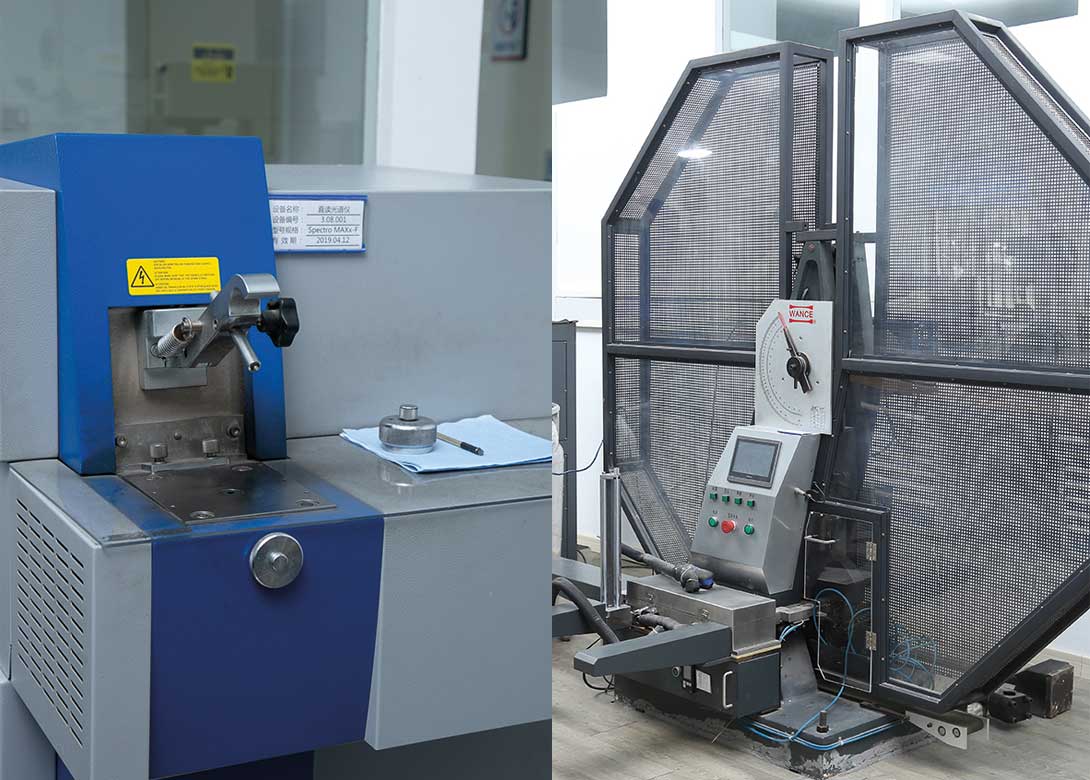
Impact test: An automatic impact testing machine (with maximum 450 Joule) for impact testing at a maximum -110ºC.
Torsion test: Using a torsion inspection machine (2,000Nm) tests include torque, drive in torque, friction coefficient, torque coefficient, function test of adhesive or locking coatings, function test on locking nuts, as well as preloading test for the detection of hydrogen embrittlement.
Material analysis: An ARC/SPARK optical emission spectrometry (OES) analyser can measure a variety of elements including carbon, silicon, manganese, phosphorus, nickel, chromium, copper, molybdenum, aluminium, vanadium, titanium and boron.
Coating thickness: X-ray fluorescence, magnet-inductive or microscopic method for checking coatings, such as: Zn/Fe (0µm – 35µm), Ni/Fe (0µm – 20µm), NiZn/Fe (0µm – 25µm), Cu/Fe (0µm – 20µm). Tests can also be carried out for hot dip galvanised products and zinc flake coatings.
Dimensional and tolerance tests: Fully automated dimensional inspection for length, radius, angle, straightness (bending), head height, recess depth, as well as tests for thread ring gauge (go/no go), thread plug gauge (go/no go) and roughness.
Other tests include structural examination by microscope to determine de-/carburisation for bolts; function test for self-drilling screws; determination of corrosion resistance (NSS) and the head soundness test.

Will joined Fastener + Fixing Magazine in 2007 and over the last 15 years has experienced every facet of the fastener sector - interviewing key figures within the industry and visiting leading companies and exhibitions around the globe.
Will manages the content strategy across all platforms and is the guardian for the high editorial standards that the Magazine is renowned.
Don't have an account? Sign Up
Signing up to Fastener + Fixing Magazine enables you to manage your account details.