By Cesare Certini, owner of CERMAC Srl
Here is the second and last part of ‘The testing of materials’ article by CERMAC, with the first part being published in the November 2022 edition of Fastener + Fixing Magazine.
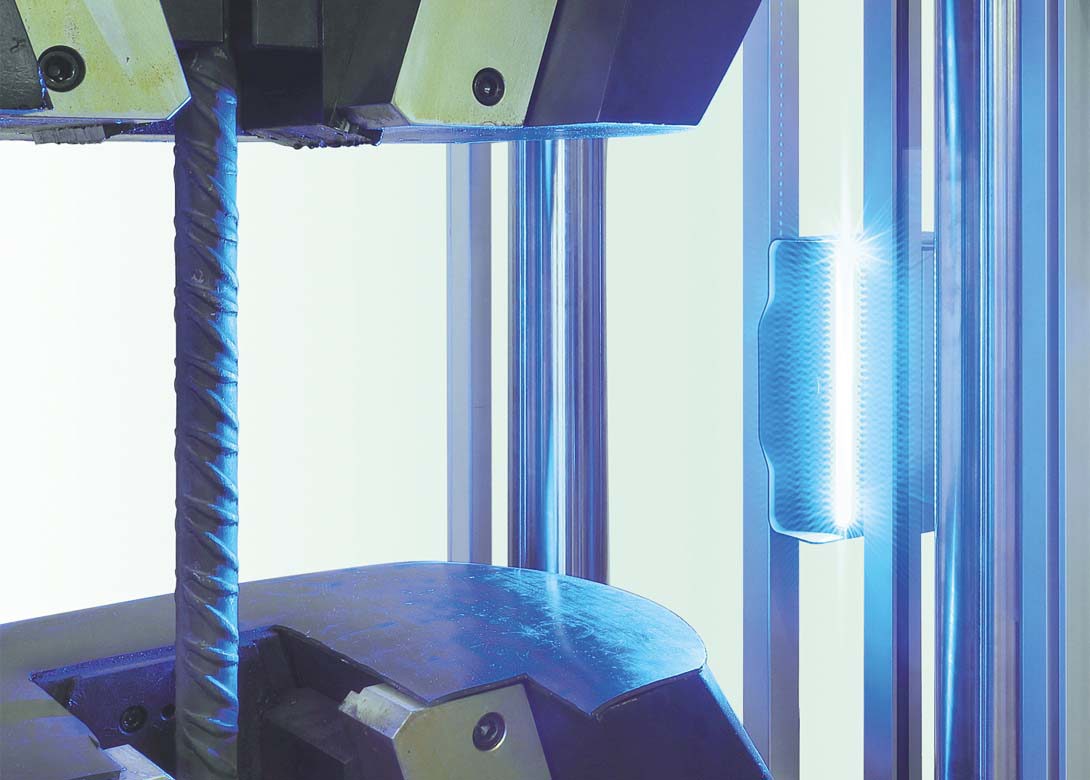
As mentioned in the previous article, the testing of materials has to be performed with machines and equipment that ensure high-quality – using cutting edge technology. Such testing machines apply increasing stress to the material under test until it fails, simultaneously measuring the applied force and, depending on the type of test, other physical properties.
A prime example are tensile testing machines, with the UNI EN ISO 6892 standard providing two different methods for performing tensile tests on metallic materials at room temperature: Method A and Method B.
Method A is normally used to reduce test speed variations in the determination phase of parameters sensitive to the test speed itself. This method can reduce uncertainties in test results. Furthermore, Method A has two declinations:
The A1 method eliminates the influence of the testing machine compliance and should allow the strain rate to be controlled very precisely. However, in the case of serrated yielding, it would not be possible to control the strain rate. In these specific cases, the A2 method is advisable.
It is important not to introduce discontinuities in the stress/strain curve, so as not to distort the test results. Therefore, any change in speed must be applied gradually without jerking, because speed influences the result and this must always be taken into account.
Method B foresees the application of load control up to the yielding, at which point it is impossible to control the loading rate, and then switching to strain control as described in Method A2. The B method, by its very nature, can introduce distortions into the graph and therefore should not be used when determining the parameters precisely at the change of control.
The standard states what the speeds must be for each phase of the test, for both Method A and Method B: ‘The loading rate range is between 2 Mpa/s and 60 Mpa/s, while the strain rate range is, depending on the test phase, between 0.00007 and 0.008 in s-1. It is important to point out that the speed, once set, must be kept stable and constant.’
In conclusion, which speed should be applied and which method should be used between A and B? The answer is given by the standard EN 6892-1, which states that it is at the discretion of the producer or the test laboratory – provided that the method applied meets the reference standard requirements.
The tensile testing machines produced by CERMAC are technologically advanced and allow the best performance in terms of test precision and control. These machines are able to apply both Method A and Method B, in compliance with the speed ranges requested by the standard.
Through a 1kHz PID control algorithm and 24-bit measurement resolution, maximum control accuracy is also ensured by obtaining the highest accuracy of test speed, avoiding any discontinuity that could affect the results. This is possible with both electro-mechanically and electro-hydraulically controlled machines. In this case, digital servo valves and double acting actuators units are used. CERMAC machines also comply with the requirements of the relevant reference standards.
www.cermacsrl.com

Will joined Fastener + Fixing Magazine in 2007 and over the last 15 years has experienced every facet of the fastener sector - interviewing key figures within the industry and visiting leading companies and exhibitions around the globe.
Will manages the content strategy across all platforms and is the guardian for the high editorial standards that the Magazine is renowned.
Don't have an account? Sign Up
Signing up to Fastener + Fixing Magazine enables you to manage your account details.