Here Cesare Certini, owner of S.M.T Srl – an independent Italian laboratory specialised in metallurgical testing – looks at the process of taking samples and how it plays a crucial role in the overall process of mechanical testing.
When we talk about mechanical tests, our thoughts go to the actual test – the one that is performed on the machine itself. Everyone would agree that the execution is an important phase of the testing process. However, just as important is the previous phase – namely the taking of samples.

The sampling of tests must be carried out in such a way as not to influence the results that will be obtained subsequently with the mechanical test. To achieve this, various measures are required that involve knowledge of the standards and operating procedures, as well as having the necessary facilities within the mechanical workshop.
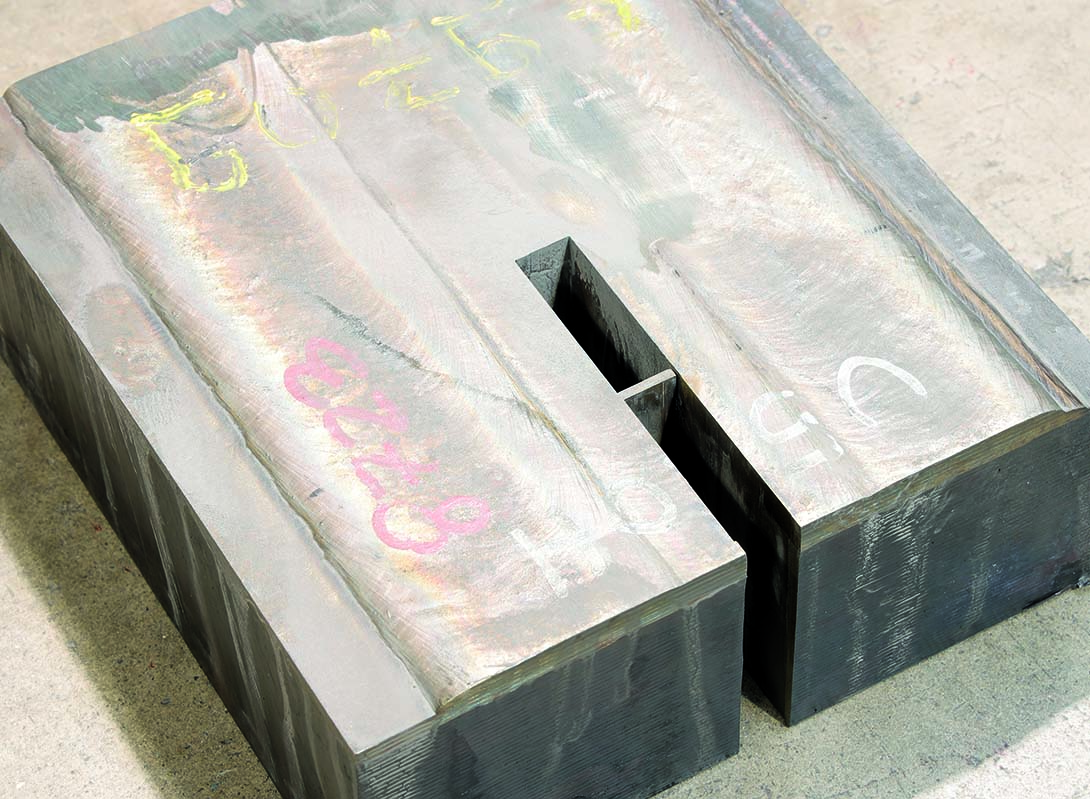
First of all, the tests must be performed following the requirements of the reference standards or the customer’s specifications. Wrong positioning can lead to different results from those that can be obtained with correctly obtained specimens. For example, in the case of heat treated steel pieces the structure, and consequently the mechanical properties, change considerably as a function of depth. In particular, when the hardness of the steel is lower, differences of a few millimeters lead to very different results.
Another fundamental point is that the specimen is obtained without altering the material. If overheating or work hardening occurs during mechanical processing, the mechanical characteristics will be affected. For this reason, it is sometimes preferable to use water cutting, a system whereby coupling abrasive material to water, and working at high pressures, makes it possible to not alter the material and also to achieve extreme precision and an excellent finish of the edges.
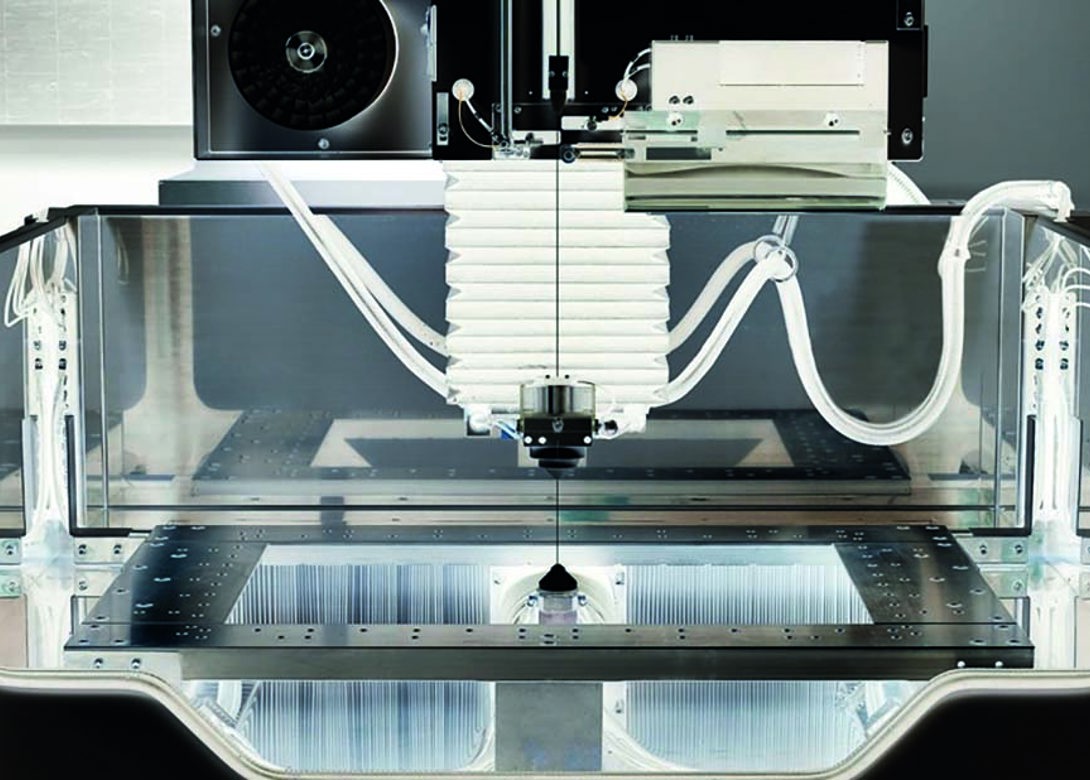
The use of alternative cutting systems to the classic ones is also very important when it is necessary to obtain specimens from very small pieces or to obtain them from already finished pieces. In this case it is preferable to use wire cutting, which greatly reduces the waste and allows the obtaining of specimens even with little material available.
Another aspect to consider is the surface finish, particularly in the case of tests such as fracture mechanics and impact tests. In the case of impact tests, the processing of the notch is fundamental, which must avoid creating surface imperfections, such as scratches and marks. However, even a non-optimal roughness can reduce the absorbed energy value. For this reason, broach machining has been abandoned in favour of systems that allow users to obtain notches with a better surface finish, such as grinding or wire cutting.
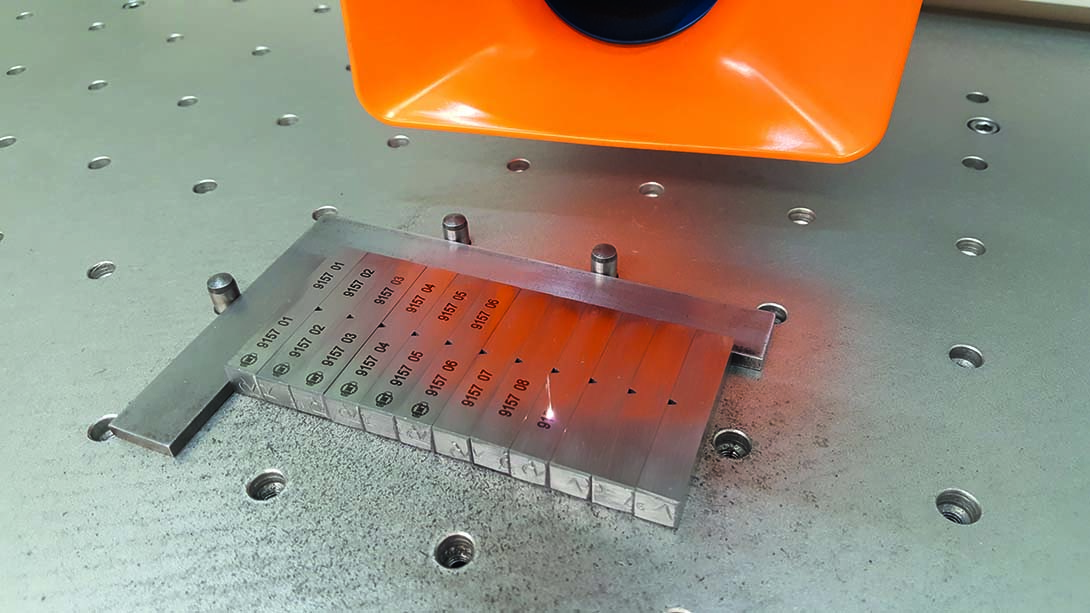
It is also important that we do not neglect the stages following the making of the specimens. To avoid dangerous mixing it is in fact necessary to mark the specimens. This operation can also have negative consequences. In the past this operation was performed by hand stamping, while today most modern laboratories have replaced it with laser marking, which is more repetitive, more readable and less impactful on the material to be tested – due to it having a a depth of a hundreth of a millimetre.
Finally, before being tested, the specimen must be checked to make sure that all the tolerances required comply with the regulations. For this reason, some laboratories, including SMT, have equipped themselves with automatic control systems.
www.smtsrl.com

Will joined Fastener + Fixing Magazine in 2007 and over the last 15 years has experienced every facet of the fastener sector - interviewing key figures within the industry and visiting leading companies and exhibitions around the globe.
Will manages the content strategy across all platforms and is the guardian for the high editorial standards that the Magazine is renowned.
Don't have an account? Sign Up
Signing up to Fastener + Fixing Magazine enables you to manage your account details.