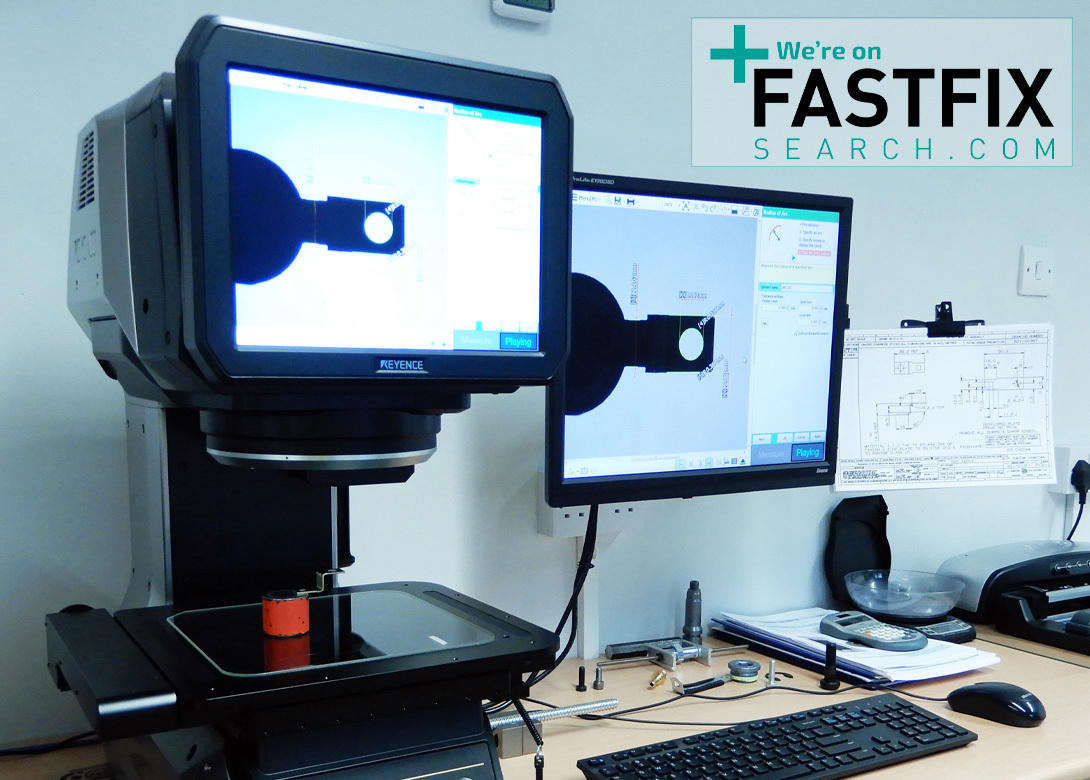
Owlett-Jaton is committed to offering its customers peace of mind when purchasing products, which is why its dedicated in-house product testing laboratory is equipped with a wide range of apparatus and testing facilities designed to support the already rigorous purchasing and goods inward inspection processes.
Owlett-Jaton’s laboratory comprises of two dedicated rooms, one for sample preparation and re-working of products, whilst the second offers a clean environment for performing inspections and conducting investigations on fasteners and fixings.
Such testing ensures that products sourced from Owlett-Jaton conform to the relevant national and international standards, such as DIN, ISO, BS and SAE – with the testing covering product diameter, radius and length, thread conformity, as well as coating thickness.
Owlett-Jaton’s in-house inspection equipment is as impressive as it is comprehensive, ranging from handheld devices – including a wide range of ring, plug, and calliper gauges – through to much more advanced instruments. The high-end equipment includes a Nikon shadowgraph – an optical measuring device for inspecting angles and lengths – as well as a Keyence IM-7000 image dimension measuring system – a high-tech, computer software operated optimal imaging device, designed to measure angles, lengths, thread pitch measurements and ‘true roundness’.
All of the in-house equipment enables the inspection of parts to be executed to a high-level of accuracy.
www.owlett-jaton.com

Will joined Fastener + Fixing Magazine in 2007 and over the last 15 years has experienced every facet of the fastener sector - interviewing key figures within the industry and visiting leading companies and exhibitions around the globe.
Will manages the content strategy across all platforms and is the guardian for the high editorial standards that the Magazine is renowned.
Don't have an account? Sign Up
Signing up to Fastener + Fixing Magazine enables you to manage your account details.