As a special insight for the Testing section, Fastener + Fixing Magazine has focused on how the product testing laboratory at Owlett-Jaton’s head office in Stone, Staffordshire, enables the leading UK wholesale supplier to improve its existing quality facilities in a dedicated ‘fit for purpose’ department.
Owlett-Jaton’s laboratory is comprised of two dedicated rooms – one for sample preparation and re-working of products, whilst the second offers a clean environment for performing inspection and conducting investigations on fasteners and fixings.  Approximately 90% of all testing is dedicated specifically to dimensional testing. This includes product diameter, radius, and length testing, thread conformity, as well as coating thicknesses, all to the relevant conformance standards. Typical products to be examined include nuts, bolts, set screws, machine screws, socket screws, and washers, irrespective of size, material type and grade, thread type (metric and imperial, coarse and fine), drive type, head style or finish.
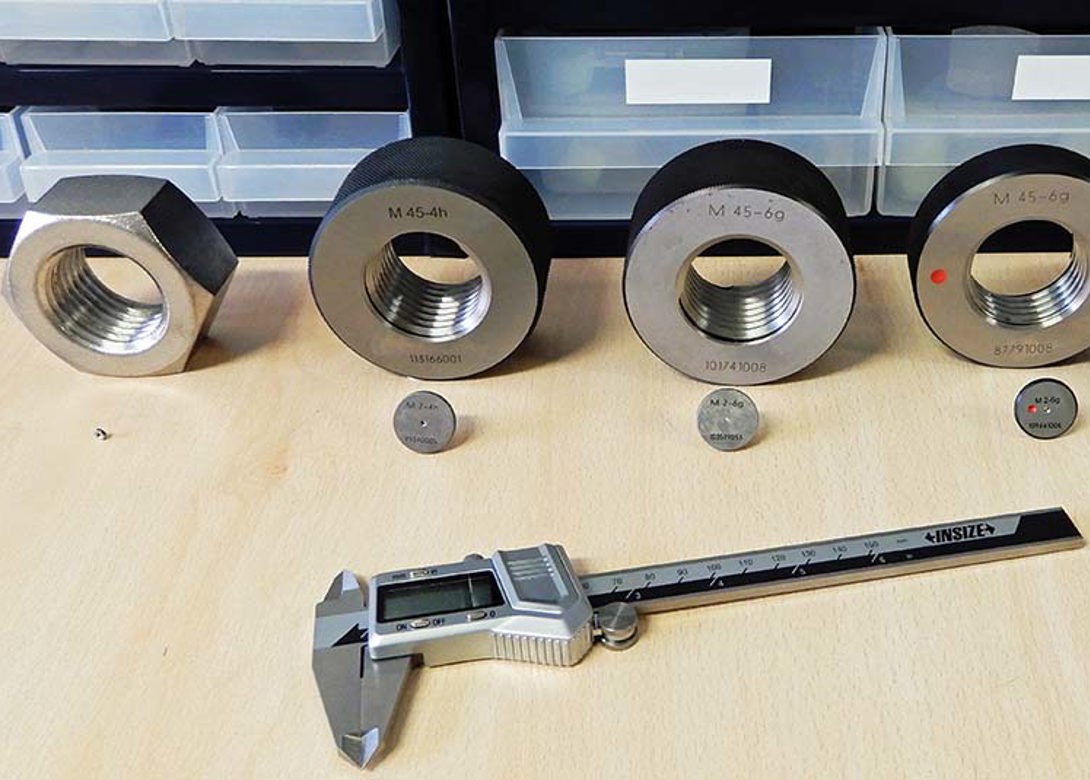
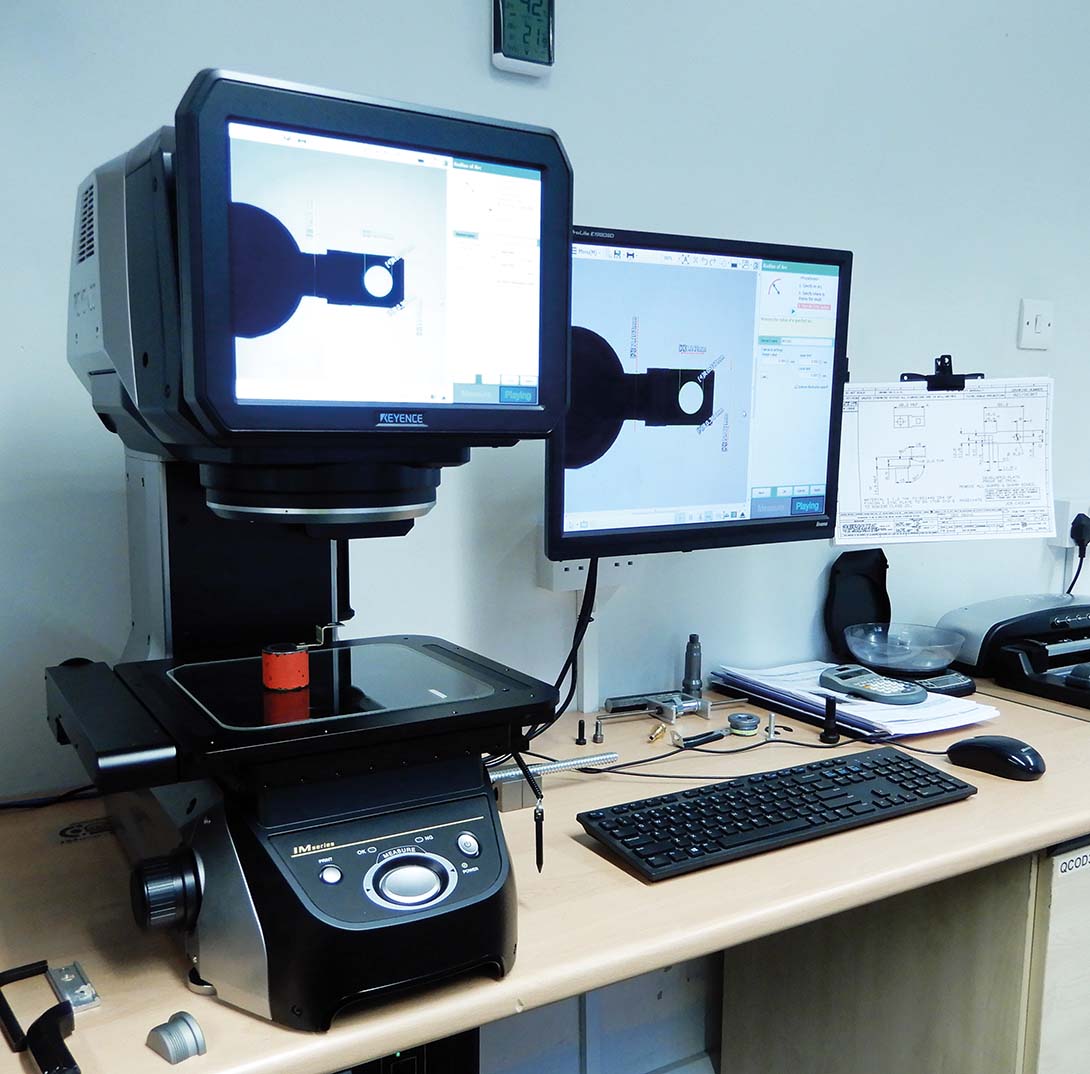
The company’s on-site inspection equipment ranges from handheld devices – including a wide range of ring, plug, and caliper gauges – which examine male and female thread conformance, Vernier calipers and Mitutoyo Micrometres to help measure lengths, depths, diameters (internal and external) and thicknesses – through to much more advanced equipment. The high-end equipment includes a Nikon shadowgraph, which is an optical measuring device for inspecting angles and lengths. A Keyence IM-7000 Image dimension measuring system, which is a high-tech, computer software operated optimal imaging device, is on-hand to measure angles, lengths, thread pitch measurements, and ‘true roundness’. There is also a Fischer Deltascope, engineered to measure coating thicknesses to microns. All equipment enables the inspection of parts to be executed to a high-level of accuracy.
Other forms of product testing that make up the 10% balance includes carrying out on-site hardness determination to Rockwell B&C scales.
Owlett-Jaton thoroughly investigates the rare reports of a product fault or failure. Initial investigation determines if the product was or was not sourced from Owlett-Jaton, which can be quickly established from the packaging and data from the label. If the product was not sourced from Owlett-Jaton, no further action is taken. Products that were originally supplied by Owlett-Jaton and show to have a fault or have failed, are investigated. It is often the case that faults and failures have been caused by human error from poor installation or incorrect application. A typical example of poor installation is a male or female threaded product (simply) being over or under torqued, causing damage to the thread or body. A common incorrect application could be as simple as the wrong grade of material being specified.
Prior to any testing, the purchasing department undertakes rigorous checks on global manufacturers before placing orders, ensuring that products conform to the quality standards required. This practice is in-line with Owlett-Jaton’s ISO 9001:2015 accreditation.
Owlett-Jaton’s goods inwards inspection process is also rigorous in checking inbound fasteners to ensure they conform to the relevant national and international manufacturing standards.

Will joined Fastener + Fixing Magazine in 2007 and over the last 15 years has experienced every facet of the fastener sector - interviewing key figures within the industry and visiting leading companies and exhibitions around the globe.
Will manages the content strategy across all platforms and is the guardian for the high editorial standards that the Magazine is renowned.
Don't have an account? Sign Up
Signing up to Fastener + Fixing Magazine enables you to manage your account details.