Here Sandberg, a provider of consultancy, testing and inspecting services for the construction industry, focuses on the hardness testing of fasteners and why it is an important step in the production process.
Fasteners, bolts and studs are universally important for everyday purpose. They are used in construction of complex machinery and equipment, as well as vehicles and buildings. Since mechanical stress is concentrated on these type of connection points, their integrity is extremely important and should be subject to strict safety requirements.
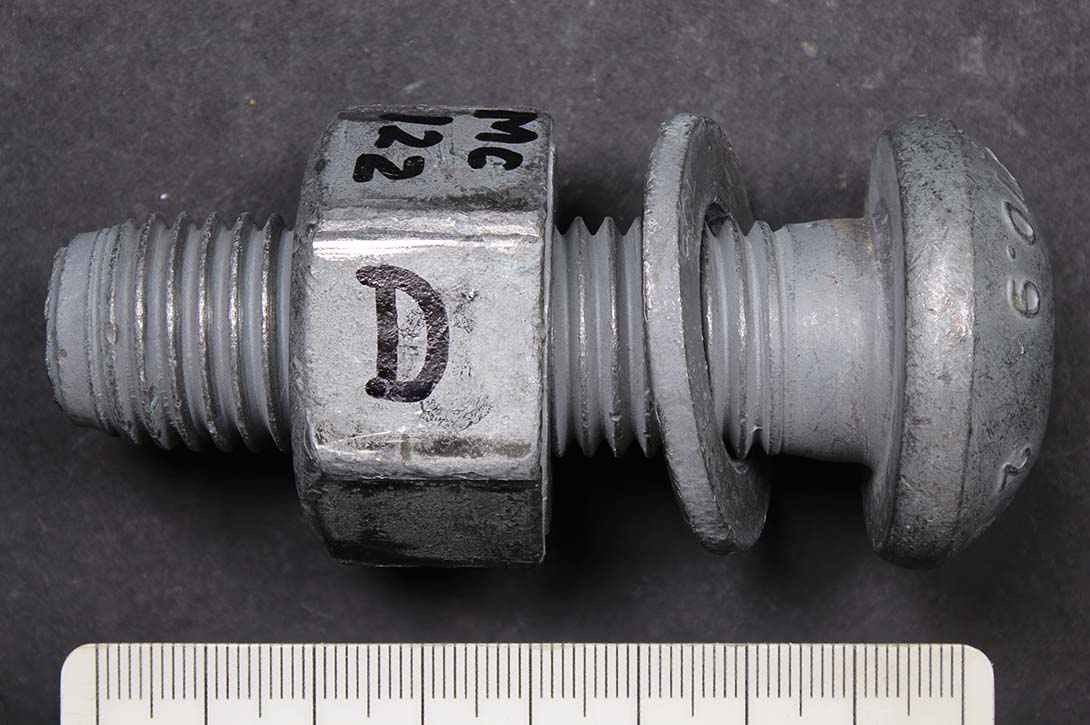
For fastener components that cannot be tensile tested, hardness testing is carried out to validate the heat treatment process and to ensure the hardness does not exceed the permissible maximum hardness for that grade. Hardness testing can be completed on a suitable surface (head, shank or end) and/or on a transverse section through the threaded region.
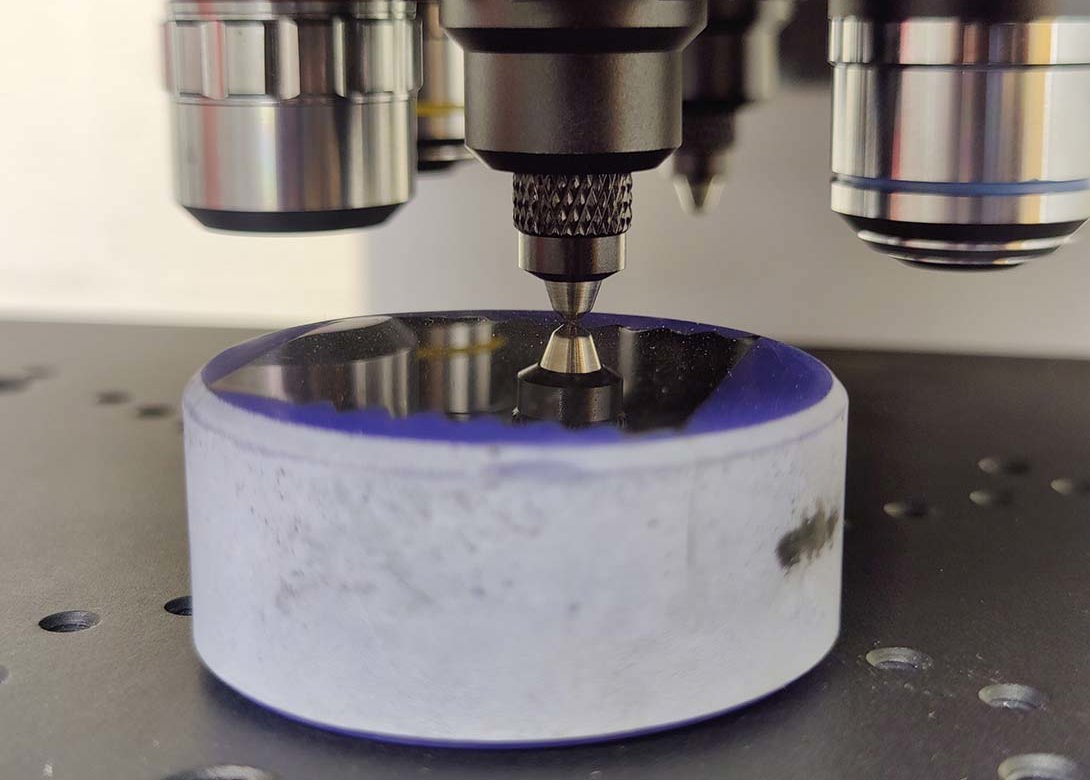
Hardness testing can be carried out using Vickers, Brinell and Rockwell hardness in accordance with BS EN ISO/ASTM standards. Vickers hardness testing involves a diamond indenter in the form of a right pyramid, with a square base, forced into the prepared surface of a test piece followed by measurement of the diagonal length of the indentation left in the surface after removal of the test force.
The following hardness tests are normally carried out on fasteners in accordance with BS EN ISO 898-1:2013:
Surface and core Vickers hardness
Hardness testing should be carried out on the flat surface of the head, shank or end of the fastener after removal of any plating/coating and after suitable surface preparation. For core hardness, a transverse section (1d) back from the end of the thread should be suitably prepared and hardness carried out within the half radius area. A minimum test load of 10kg (98 N) for Vickers hardness testing should be used to determine the surface and core hardness.
Carburisation and decarburisation
Vickers hardness testing
During the heat treatment process, a thin layer of carburised layer, which is hard, or a thin soft layer that may reduce strength, may develop on the threaded region. Carburisation and decarburisation assessment can be carried out on a metallographic section through the threaded region. This involves a longitudinal section mounted in an appropriate resin to preserve the edges, then through a series of grinding and polishing stages before hardness testing is carried out.
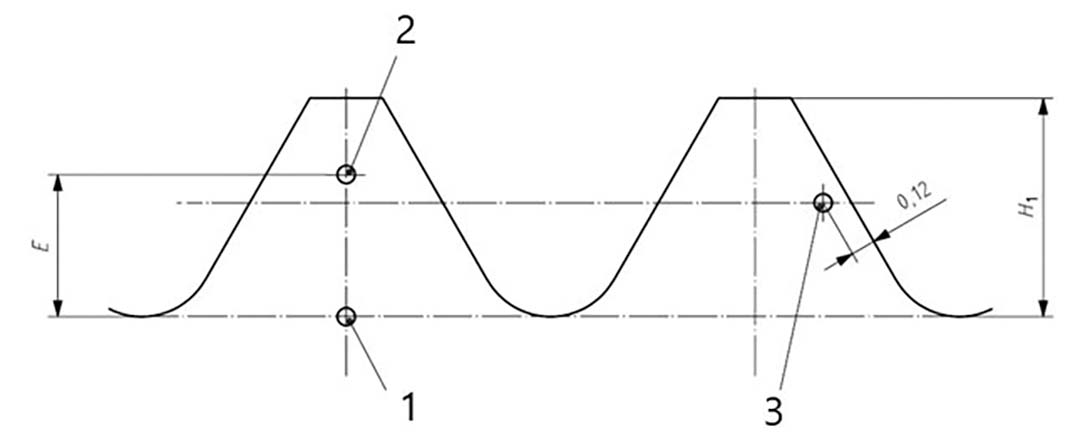
Carburisation testing is to confirm that the fastener conforms to the desired hardness specification and that the maximum hardness is not exceeded. This test is carried out on the threaded region around the pitch line approximately 0.12mm from the surface. A highly carburised region results in surface embrittlement, which subsequently decreases the fatigue resistance.
Decarburisation during heat treatment causes loss of carbon, resulting in a microstructure with lower hardness compared to the harder microstructure martensite. This is carried out to determine if the quenched and tempered fastener surface is decarburised and to determine the depth of the decarburised zone. Hardness methodology only detects partial decarburisation and is applicable to fasteners with a pitch ≥ 1.25mm and property Classes 8.8 to 12.9. A test load of 300g (low force Vickers) for hardness testing should be used to determine the carburisation and decarburisation.
E height of non-carburised zone in the thread (mm)
H1 height of external thread in the maximum material condition (mm)
1, 2, 3 measurement points
No carburisation is observed when the hardness value at point 3 is less than or equal to the hardness value
at point 1 plus 30 Vickers units:
HV (3) ≤ HV (1) + 30
No decarburisation is observed when the hardness value at point 2 is greater than or equal to the hardness value at point 1 minus 30
Vickers units:
HV (2) ≥ HV (1) – 30
Retempering check
A retempering check is carried out to ensure that the minimum tempering temperature was achieved during the heat treatment process. This test involves retempering the fastener, holding for 30 minutes at a temperature of 10°C less than the minimum tempering temperature. Using Vickers hardness testing three indents are made on the same fastener and in the same location. A reduction in the mean Vickers hardness values, if any should be less than 20 Vickers units.

Will joined Fastener + Fixing Magazine in 2007 and over the last 15 years has experienced every facet of the fastener sector - interviewing key figures within the industry and visiting leading companies and exhibitions around the globe.
Will manages the content strategy across all platforms and is the guardian for the high editorial standards that the Magazine is renowned.
Don't have an account? Sign Up
Signing up to Fastener + Fixing Magazine enables you to manage your account details.