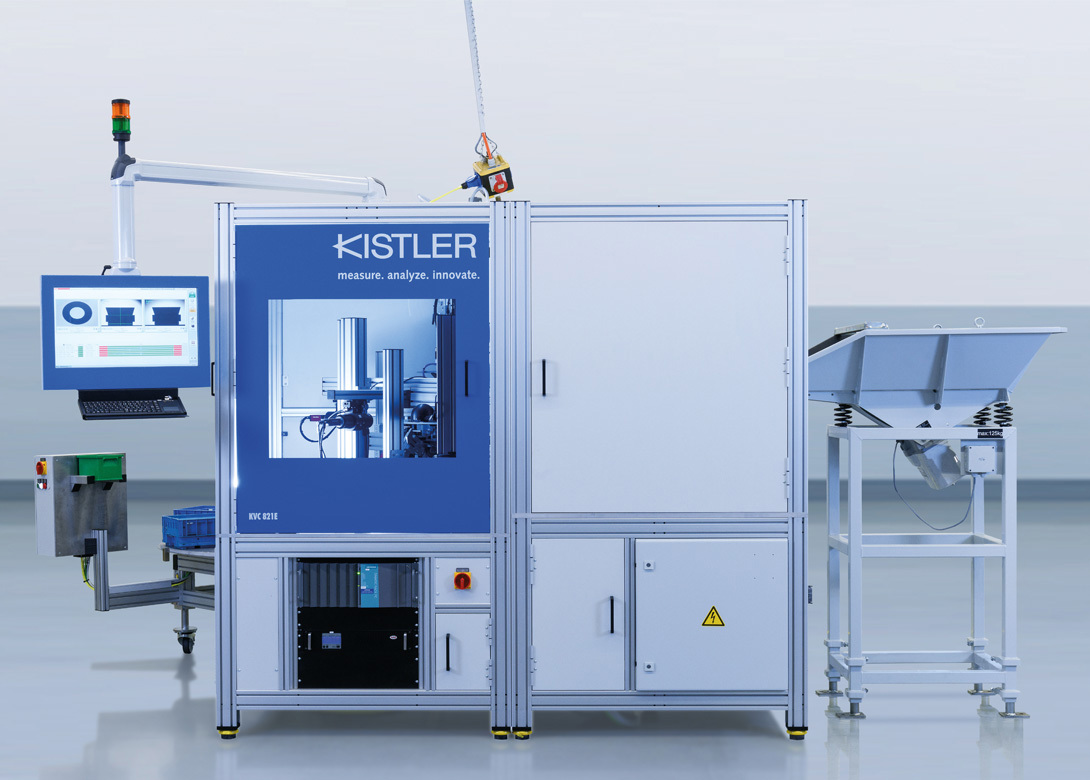
At this year’s Fastener Fair Global in Hall 1, stand 804, Kistler will be presenting individually combinable applications for quality control in the fastener industry – with customers able to put together a solution that fits their individual needs exactly.
Quality control in the fastener industry is as diverse as fasteners themselves. In order to meet numerous official and industry specific standards, manufacturers must continuously collect reliable data on the properties of their products. Depending on the type of fastener, however, the data required can vary greatly. In addition, it’s frequently not just one quality feature that needs to be checked, but a combination of different properties.
At this year’s Fastener Fair Global, Kistler is presenting the expanded portfolio of its ANALYSE system – the universally applicable test stand for determining friction coefficients can be combined with additional modules for resistance and length measurement, as well as for fracture testing. Thanks to its modular design, fasteners of various sizes can be tested quickly and precisely, thus allowing for reliable statements on product quality on the basis of various measured variables.
“With the numerous possible applications of the ANALYSE system, we are far surpassing compliance with norms such as ISO 16047. Customers can draw on our combined expertise and will receive an individual configuration entirely in-line with their requirements. Accurate measurement data ensures that they meet all their quality demands,” explains Kay Dierecks, product manager fastening technology at Kistler Group.
Fastener Fair Global will also mark the first time that Kistler presents an inspection solution for bolts using optical quality control: The KVC 821 test stand, which includes cameras that record bolts, nuts or other fasteners and collect precise data on the dimensions, geometric properties and drive characteristics of the test parts – with the help of the KiVision image processing software. If required, an Eddy current test can also be integrated into the test stand. If the system detects a defect, the part in question will automatically be sorted out.
This quality inspection is not limited to individual parts, Kistler’s optical test stands analyse up to 800 parts per minute, thus maintaining quality requirements even in case of large quantities. The data collected is stored by each test stand in its own database, enabling manufacturers to identify long-term trends in production and analyse them using software solutions by Kistler.
www.kistler.com/DE/de

Will joined Fastener + Fixing Magazine in 2007 and over the last 15 years has experienced every facet of the fastener sector - interviewing key figures within the industry and visiting leading companies and exhibitions around the globe.
Will manages the content strategy across all platforms and is the guardian for the high editorial standards that the Magazine is renowned.
Don't have an account? Sign Up
Signing up to Fastener + Fixing Magazine enables you to manage your account details.